How to configure your domain with Google Domains DNS for use on ImprovMX
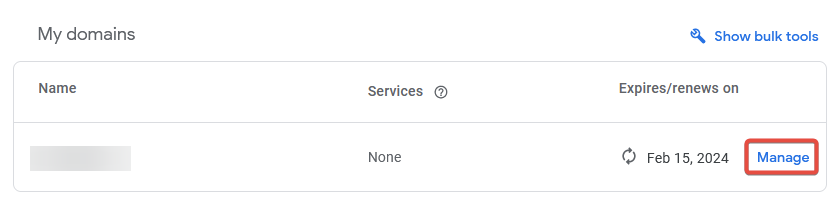
1. Go to your Google Domains dashboard and click Manage next to your domain in the My domains list.
2. Click DNS on the left-hand side.

3. In the Resource records section, leave the host name blank and in the Type dropdown, choose MX.
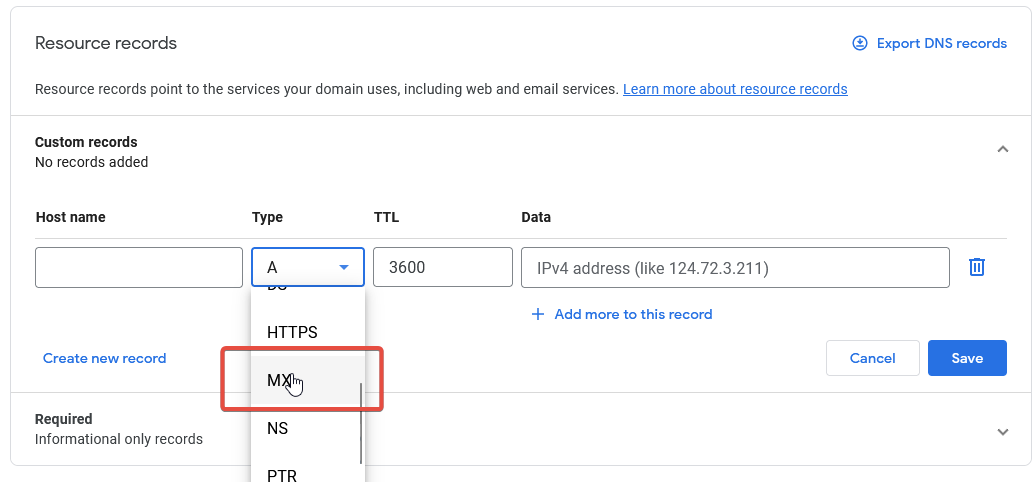
4. The TTL can be left at its default value. Then, in the Data field, paste the following value:
10 mx1.improvmx.com.
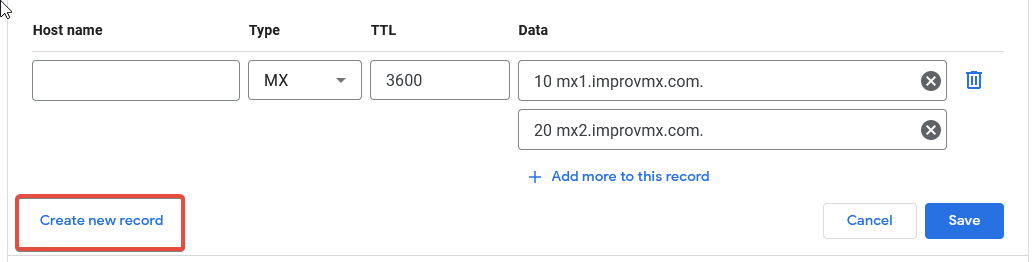
5. Click + Add more to this record and then paste the following value into the new text field and click Save:
20 mx2.improvmx.com.
6. You'll now be able to see both MX records listed against your domain name. Now we need to add the SPF TXT record, so click Manage custom records.

7. Click Create new record.
8. Click the Type dropdown and select TXT.

9. Leave the Host name field blank and the TTL field as the default then paste the following value in the Data field. Click Save once complete:
v=spf1 include:spf.improvmx.com ~all
10. You should now be able to see the 2 x MX records and 1 x TXT record that you have created.

11. That's it! Now you just have to wait for the DNS changes to propagate, which can take up to 24 - 48 hours, although normally much sooner.
Once our system has detected the DNS changes we'll notify you and you'll be ready to go!
If you're feeling lucky you can try going back to the ImprovMX dashboard and click Check Again in case the changes are picked up straight away!

12. The domain will show Email forwarding active when the DNS changes have propagated successfully.

Still have questions?
If you have any other queries please get in touch with our support team.